What I’ve been working on:
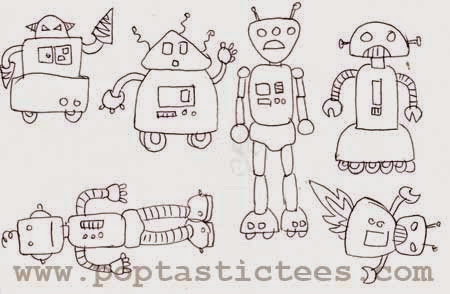
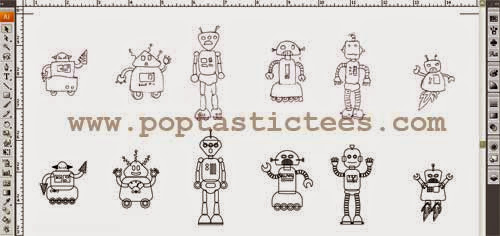
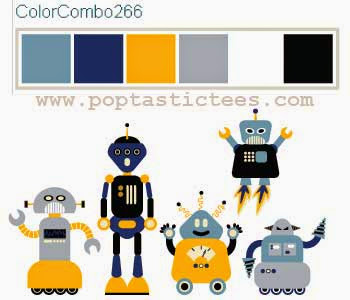
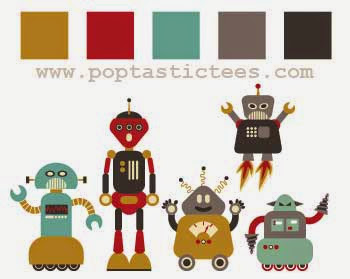
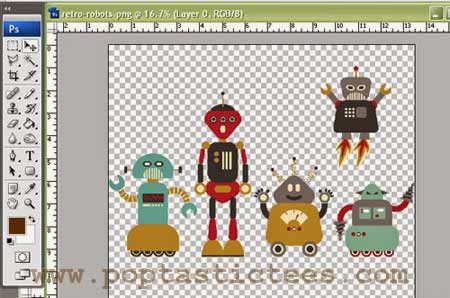
1. New patterns for my Spoonflower store (these are still being proofed so this is a sneaky peek) —

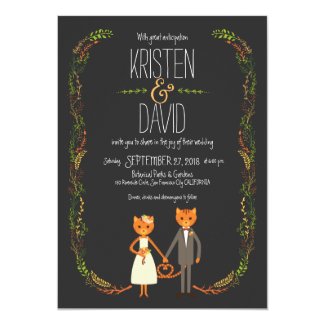
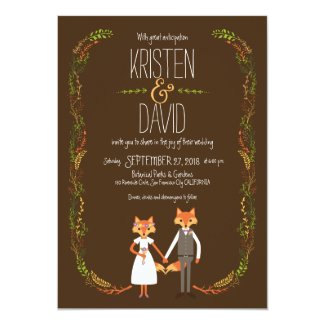
2. A new wedding invitation set featuring stylish animals —
(You can see all the elements of the entire collection here)
3. More custom couple cartoons. (Nothing to show here yet as they’re still in the drafts stage but I’ll update the other blog once the drawings have been finalized.)
And as you may have seen on my Instagram feed,
4. Shrink plastic jewelry
I’ve been wanting to make accessories for the longest time. In fact I have an unused box full of jewelry findings hoarded from the Kamuning Market when we were planning our wedding… yes, it’s been that long! However, there’s so much competition and I didn’t know what I could do that would showcase what I can do best so i focused on other things. Until I discovered shrinky dinks — thanks to wedding blogging actually. Some of my brides would talk about shrinky-dinking stuff and I was all like “shrinky-WHAT-ing?” (( Not sure if art schools here are using it now but I’ve never encountered the stuff.)) After much Googling and Youtube-ing I learned that specially made plastic can shrink into a harder & thicker version of itself if you stick it in a regular toaster oven. A little light bulb lit up in my head — what if I shrink my illustrations and make them into few-of-a-kind jewelry charms? Of course I still had no idea then that I was already late to the game and that there’s already a whole movement devoted to shrink plastic jewelry on Etsy. [insert embarrassed emoji here] Still, I ordered a pack of Shrinky Dinks sheets from Amazon. That would take at least a week to arrive and I couldn’t wait anymore so when I learned that I can also shrink #6 plastic (essentially, plastic used for take-out containers) and yay, we had one on hand (( it had cake on it which I quickly, um, got rid off )), I did this experiment, again documented on Instagram.
A photo posted by Cynthia Bauzon-Arre (@arncyn) on
My shrinky dink-brand sheets (as well as a few unbranded ones) arrived in late December but I couldn’t play with them until this week. I got several types — white, clear, rough and ready – so I tried different combinations. Frosted sheets with colored pencils, white with sharpies. Here’s what came out of that experiment.
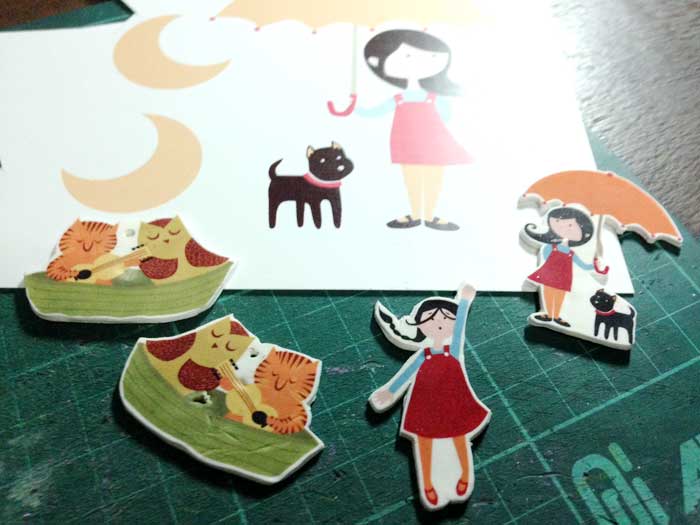
In the photo below you can see how big the original artwork is compared to the miniature version. You’ll notice that this time I printed my vector illustrations directly on the plastic sheet.
Some pieces already look good but I have yet to perfect shrinking the plastic without forming dents in the miniatures. This is all still a work in progress and I will update you once I come up with designs that I am completely happy with.
UPDATE: I made a YouTube video of how I make my shrink art pins!
