How I’ve been trying to improve my figure drawing

I’ve always been frustrated with my figure drawing skills (or lack thereof) and, until recently, have been getting away with “charmingly” distorted figures as popularized by indie comics and fashion illustration. For example, the figures in my work for Ang Nawawalang Soundtrack obviously defy human structure logic.

That kind of drawing is acceptable, yes, but I am married to a very skilled artist who always tells me that I have to know anatomy before I can deviate from it. Remember, even Picasso had a realist period before the creative genius revolutionized the art world with his abstract depictions of society. So I made it my mission to practice drawing figures whenever I can and this is how I’ve been doing it.

1. I hang out in coffee shops where I can watch people and draw them inconspicuously. I usually sit in a corner where no one can see me drawing or else they might shy away and turn their backs on me.

A post shared by Cynthia Bauzon-Arre (@arncyn) on

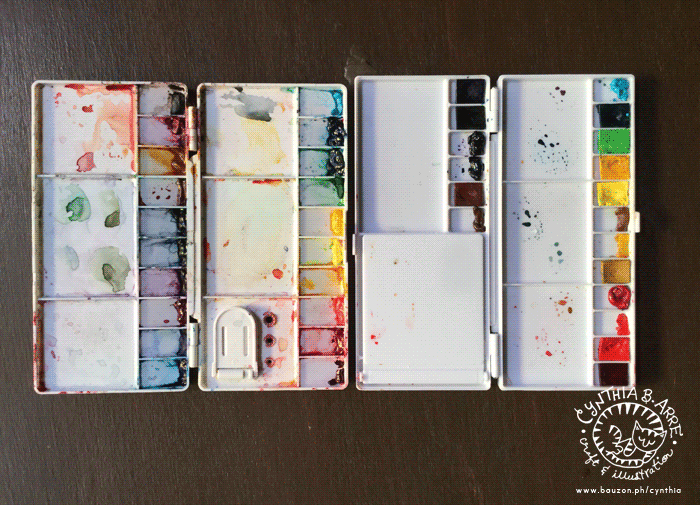
2. I’ve been attending life drawing sessions such as Who Are Maro’s Life Drawing Setup. The session is divided into two halves — one for the male model and another for the female model. Each half is divided into 5, 10, 15, and 30-minute pose sessions so it really trains the artists to draw what they see without overthinking it. Arnold and I have been attending almost regularly since last year. You can follow their FB page to find out when the next one is. Here’s a video of my drawings from the latest one. The first time we joined I just used pencils. The following time I used watercolors, and for this most recent one I used Viarco graphite sticks and tailor’s chalk from ArtWhale.

Using different mediums is training me to think and act quickly before the minutes are up and the model assumes a new position.

3. I watch gesture drawing videos on YouTube. The artist Proko’s human anatomy playlist is definitely a good starting point as he demonstrates drawing, explains bone joints and describes muscle groups in an entertaining way.

4. Sometimes I use Arnold’s action figures to study anatomy. The Final Fantasy XIII figures (which he has a complete set of, lol) are *gorgeous* and I like to pose them around so I can use them as models. They’re also great for studying lighting.

A post shared by Cynthia Bauzon-Arre (@arncyn) on

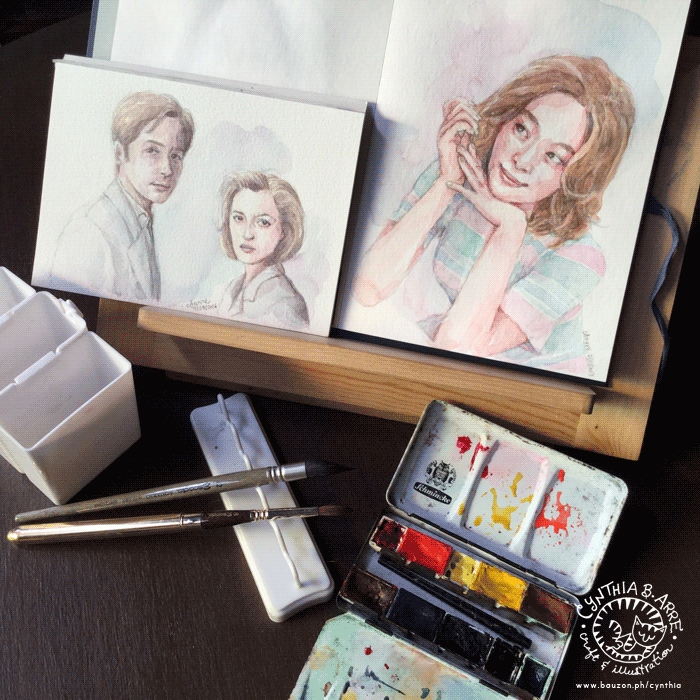
5. When watching TV series or movies here at home I sometimes sketch from the screen just to train myself to observe lines and angles carefully while setting them on paper. I found it really hard to capture likenesses at first but after much practice I think I’ve gotten a little better at it. Can you guys tell that this is Brad Pitt and Angelina Jolie? J/K 😀

A post shared by Cynthia Bauzon-Arre (@arncyn) on

My figure drawing is still very much a work in progress but I hope this post has inspired those of you who are also struggling to get figures done right.

***
Kuretake Zig Pen Meet 3
By the way, if you guys aren’t doing anything this Saturday, September 9, I’d like to invite you to come to the Kuretake ZIG Pen Meet 3 at the ShangriLa Plaza. I’ll be there among around 50 artists who’ll be doing live art. My slot is from 3-5pm and I will be at the “Illustration Alley” section. Not sure what I’ll be drawing yet but for sure I’ll be doing it in watercolors. Hope to see you then!

Share
Read More

My DIY Portable Watercolor Kit

DIY postable watercolor kit

My work space at home is still the most ideal location for painting but there are times when I need to work outside the house like when I do demos or live portraiture and also when I meet with friends for art dates so I DIY-ed a portable watercolor kit that comfortably allows me to bring my at-home work experience wherever I go. In case you’re in the process of making a watercolor travel or plein-air kit too, I’m sharing mine with you. 🙂

DIY watercolor travel kit

The actual kit is a red pouch that measures 11.5″ x 8.5″ that I purchased for P88 years ago in Daiso. I think it’s a travel accessory pouch but I’ve found it suitable for storing my painting materials especially since the mesh front pocket allows anything that might still be wet inside it to air dry even when already packed. The kit is sitting on a wooden book stand (bought from Fully Booked but it’s similar to this one) that I use as an easel when doing on-the-spot portraits. I have a portable table easel too, you’ll see it in use in this video, but it’s bigger and heavier so I only use it for outdoor events or when I hold workshops.

DIY watercolor plein air kit

The back of the pouch has two more pockets where I store watercolor journals, pads and paper towels. See just how sulit this P88 bag is? By the way, the Clester journal is from Sekaido in Tokyo (I also use the Albireo journal which is slightly cheaper) and the Bockingford pad is from ArtWhale.

What’s inside the bag:

  1. Brush stnad (given by my friend Jovan (@starshuffler). I believe she bought this in an art store n Hong Kong), Never leave your brushes submerged in water, guys. You can rest them on paper towels when not in use but I particularly like how this holder lets my brushes’ bristles dry while keeping their shape.
  2. A roll-up tool case I bought from crafter friend Nikki of Tweed & Twine. I like that this tool case has wide pockets so I can keep rulers and small pocket palettes in it too. Also, fabric = breathable!
  3. Flat water bottle from my Holbein Pro Compo II travel set – a kit I stopped using because it’s quite heavy and bulky. I transferred the paint from it into a folding palette.
  4. My husband‘s 20-year-old Schmincke watercolor palette (video of when I first discovered it here), resurrected for my personal use.  😛
  5. Collapsible water pail that I bought in Sekaido (Shinjuku main branch) last year.
  6.  Little tin container bought for P29 in Landmark. I have lots of these and I use them for storing extra paint pans or graphite sticks.

The usual art materials:

  1. Silver Black Velvet Brush #8, a gift from my cousin abroad, locally available from Craft Carrot. The bristles are synthetic and I like how I can make both fine lines and semi-thick washes with it.
  2. Artetje Canlon Pro 5/0 brush I bought in Sekaido. I think it’s meant for miniature work and I only use it for detail work if necessary.
  3. Escoda Aquario #12 Squirrel Mop from ArtWhale — my all-time favorite brush. It’s a great mop for laying down initial washes of transparent color and if I forget to bring my other brushes, the pointy end is awesome for sketchy detail work too.
  4. Escoda Reserva #8 Kolinsky Sable Brush, also from ArtWhale — my next favorite brush. It’s collapsible so it’s perfect for travel. It can hold a lot of paint and is great for laying down juicy strokes of color which supplements the initial base washes made by the Aquario. I have a video of the two brushes in action on my Youtube watercolor tutorial channel.
  5. Some of the paint in the original palette has dried up so I filled it with colors I actually use which is a combination of Shin Han, White Nights, and leftover Shcmincke pans. I alternate this palette with my other folding palettes (see photo below), depending on what I’ll be painting that day.
  6. Viarco ArtGraf Water-Soluble Tailor Shape Graphite Block in Sanguine and ArtGraf Graphite Stick, both from ArtWhale. These are awesome and dissolve unbelievably smooth with no obvious streaking, perfect for live figure drawing sessions.
  7. Selection of paper — usually Strathmore. Khadi and Bockingford from ArtWhale, Hahnemuhle from Deovir Arts, Fabriano from NBS, and Canson Montval or Arches from IFEX or NBS. See my old blog post comparing different watercolor papers and on my watercolor tools (part 1, part 2)

watercolor palettes

My alternate folding palettes. I love this kind of palette since they are light, inexpensive and they have ample space for mixing colors. The one on the left is the palette I use the most since I’m already accustomed to the paints in it. You can refer to this old post for the colors / brands it contains (though I replaced 3 or 4 of the colors since writing that post). The palette on the right contains Holbein paint from that I transferred from my Pro Compo II travel kit which, as mentioned above, is really too bulky for me to lug around.

And finally below is what the portable setup looks like when in use.

Also here 😀

A post shared by Cynthia Bauzon-Arre (@arncyn) on

How about you? What’s in your portable watercolor kit? If you have blog posts about it please do share the links with me in the comments section. 🙂

Share
Read More

I'm Cynthia Bauzon-Arre, a Filipino watercolor artist & graphic designer. I live in QC with my graphic novelist husband Arnold and our friendly marmalade tabby Abbas. This blog has been chronicling my life, likes, and loves since 2001. [ more ]

view my portfolio

Categories

Archives