Because I have a new efficient workspace, I thought of giving my nearly two-year-old yet never-been-used Print Gocco a whirl today.
.
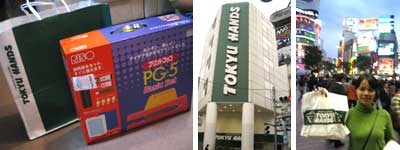
Finally! It’s been sitting inside that box for too long. These pics were taken in October 2006.
.
I bought my Print Gocco PG-5 at the Shibuya Tokyu Hands in 2006 for an amazing 6825yen (or US$63.60)1 — I say amazing because it can cost as much as US$1952, about thrice what I paid for!, in some US Gocco supplier shops so I would say that Japan is the best place to get it from3. Just remember to pronounce it this way, Purinto Gokko, to avoid awkward Rost in Transration moments. 😉
UPDATE (9.20.08): Exciting news, everyone! I just found out that the Gocco and its supplies are available here in the Philippines! Tin, a stay-at-home-mom based in Iloilo sells Gocco kits, inks, bulbs, and other paraphernalia you will need to lead the Gocco life via her cute little shop, One Tiny Party. Her site also features pics of her pretty Gocco’d artworks and a lot of helpful tips and links for everyone interested in going Gocco. [go!]
.
So let me take you through my enjoyable Print Gocco experience.
.
.
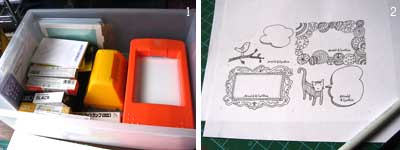
1) Aww, that’s little PeeGee with all her accessories inside her crib. Since Gocco supplies are hard to come by in the Philippines4, I made sure to stock up on inks, screens, and bulbs when we were in Japan.
2) I wanted to conserve my bulbs and screens (the bulbs especially since you need two bulbs per print and they can only be used once) so to make the most of them, I made 4 gift tag designs to fit one 4″ x 6″ screen. I used the special carbon ink based pen that’s specially made for use with the Gocco to sketch my master.
.
.
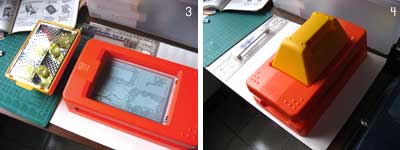
3) The bulbs are now screwed onto the print hood and my master has been inserted into the PG window.
4) A quick, heavy press on the lid will cause the bulbs to flash, indicating that the master image has been burned to the screen.
.

.
5) And the fun begins: here’s my screen after I squeezed paint on it. I made sure to put blocking tape in between the portions where I didn’t want color to bleed into each other.
6) The screen is now positioned inside the PG’s lid again and we’re ready to get it on. Printing via Gocco produces results similar to silkscreen printing except that the process is easier, less messy, and lots of fun but, okay, more expensive because of the limited availability of supplies.
.
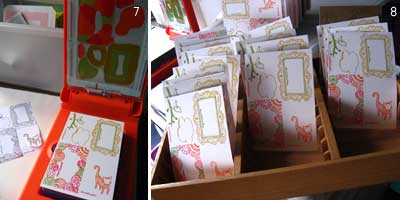
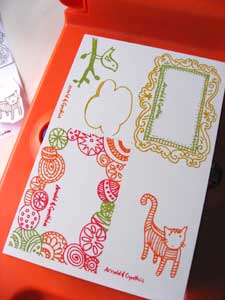
7) Tadah, my very first print!
8) Here they all are, waiting to dry. Incidentally, the wooden case is a cassette tape crate given to me ages ago by my brother. I haven’t used it in a while5 but I discovered that it makes a good card-drying rack.
.
.
Not so bad for a first print although I would’ve wanted it to be less colorful. And now I can’t wait to try using layers and different paper patterns and textures so I guess you’ll be seeing more of these printing experiments from now on.
.
(For those who ended up on this site looking for Print Gocco PG-5 instructions, allow me to point you to the excellent tutorial by Felt Cafe which I myself referred to while working on my prints.)


