design projects

Custom Pet Portraits + I Love My Cat

I’d like to to share one of my latest projects, something I never thought I would do since I’ve never really drawn animals other than cats and birds before: custom portraits of my friend April’s Shiba Inus! When she first asked me I wasn’t sure if I could do it so I made this colored pencil sketch of her two Shibas sitting side by side. For practice.
custom pet portraits by cynthia bauzon arre
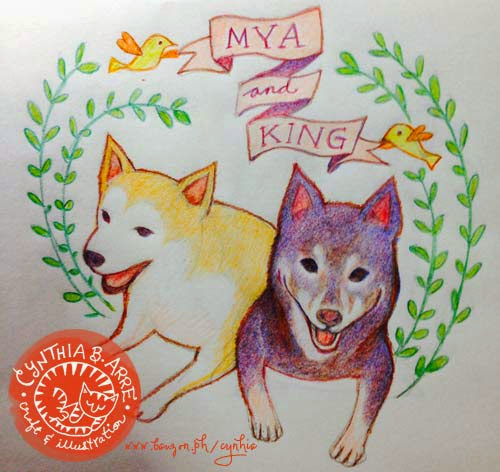
Obviously I got the proportions all wrong. 😳 Anyway, working on the sketch allowed me to familiarize myself with their features and markings so I eventually felt more at ease drawing them. I think it also helped that Shiba dogs look somewhat “feline”1 with their upright ears and almond-shaped upward-slanting eyes.

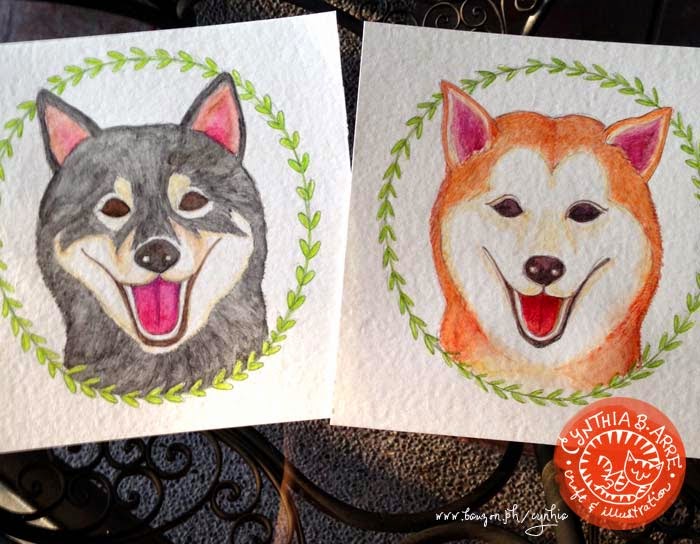
And then I made individual portraits, taking into account each of their distinct attributes — for instance a slightly crooked ear for one of them which was from an operation, etc — for a more personal touch. I was confident enough to use watercolor this time. I don’t typically use blacks for coloring but the black and tan Shiba variety called for it and I was quite happy with how they turned out and thankfully, so was their mom. 🙂
custom pet portraits cynthia bauzon arre
These were so fun to do and once I get more dog-drawing practice under my belt, I’ll likely add animal portraits to my custom artwork repertoire. (I will have to draw the line at pet reptiles though… 😯 )
***
Meanwhile.. it’s no secret that I love our cat. In fact he’s right there in my blog logo illustration which I haven’t changed for years. He’s also in my still-non-existent handmade store’s logo (see watermark) and in a lot of drawings I’ve done and even in some of Arnold‘s comics as an Easter egg to friends who know us well.

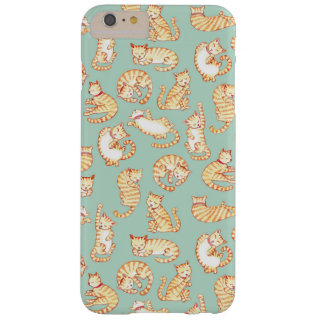
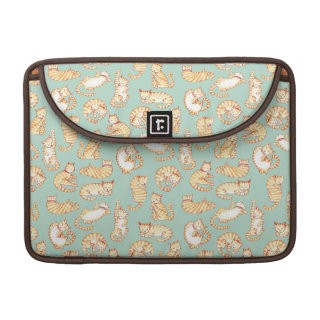
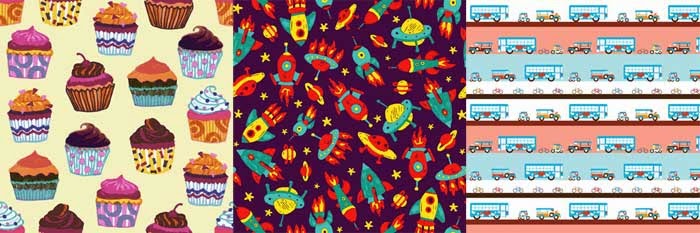
There was one day last week when my mind hit a blank and I couldn’t start working. He was lying on his play mat in front of me and, as if sensing my anxiety, started rolling around playfully. I could never resist when he does that so I went over and gave him a chin and back rub. He looked so content and carefree that I felt like preserving that moment. Without thinking I started sketching him. He kept moving around while I tried capturing all his poses and that was the birth of the series of illustrations below (right) which I ended up turning into a pattern (left).
pet portraits

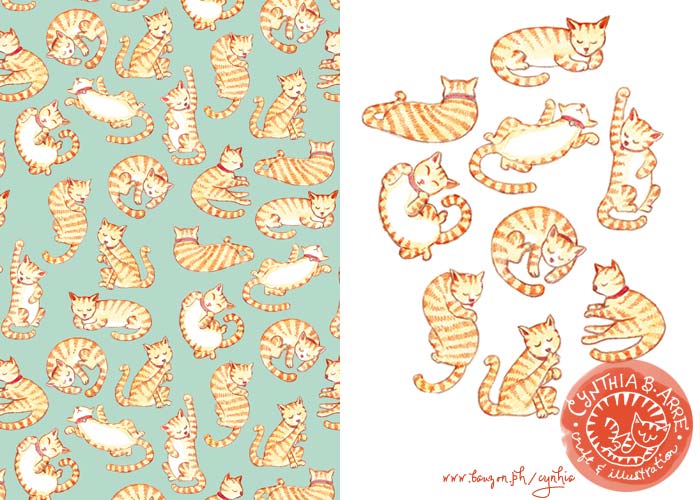
It’s still being proofed over at Spoonflower but if you like cats too, my orange tabbies pattern is now available on phone covers, iPad sleeves, and more at Zazzle and RedBubble.

  1. for me at least[ back]
Share
Read More

Shrink Plastic: Before and After

shrink plastic before and after

Thought I’d share this before and after image of the shrink plastic “Sampayan” (“Laundry Line”) necklace I made the other day. See how those drawings shrunk down to about 1/4th of their original size? They also grew about a millimeter in thickness and the colors got more saturated. Here’s a closer view:

I used Frosted “Ruff and Ready” Shrinky Dinks Shrinkable Plastic sheets to make these charms. My favorite thing about these sheets is that one side has already been machine-sanded so I can draw directly on them with colored pencils. The other side is glossy and when it shrinks, there’s no more need to coat the front with glaze. I don’t know if you can see it in the pic but I love how nice and glossy they are. It’s almost like these charms were cast in resin.

***
Another reason for this blog update is to announce that one of my designs is featured on RedBubble’s front page among the curators’ picks for the day. #kilig

hipsters pattern

The Cool Kids” on FOUND by RB

If you’re interested, you can also purchase this design on iPhone covers on RedBubble, and on wristlets, wallets, and even plates (yes) on Zazzle @ Funky Patterns. And for you crafty cats, fabric printed with this pattern (on either a pink or blue background) is also available starting today in my Spoonflower store. If you ever get to use it on your projects, please upload a photo of your finished project on there ok? 🙂

Share
Read More

Keeping Busy + Adventures in Shrinking Plastic

What I’ve been working on:

1. New patterns for my Spoonflower store (these are still being proofed so this is a sneaky peek) —

surface pattern design by cynthia bauzon arre

2. A new wedding invitation set featuring stylish animals —

(You can see all the elements of the entire collection here)

3. More custom couple cartoons. (Nothing to show here yet as they’re still in the drafts stage but I’ll update the other blog once the drawings have been finalized.)

And as you may have seen on my Instagram feed,

4. Shrink plastic jewelry

I’ve been wanting to make accessories for the longest time. In fact I have an unused box full of jewelry findings hoarded from the Kamuning Market when we were planning our wedding… yes, it’s been that long! However, there’s so much competition and I didn’t know what I could do that would showcase what I can do best so i focused on other things. Until I discovered shrinky dinks — thanks to wedding blogging actually. Some of my brides would talk about shrinky-dinking stuff and I was all like “shrinky-WHAT-ing?”1 After much Googling and Youtube-ing I learned that specially made plastic can shrink into a harder & thicker version of itself if you stick it in a regular toaster oven. A little light bulb lit up in my head — what if I shrink my illustrations and make them into few-of-a-kind jewelry charms? Of course I still had no idea then that I was already late to the game and that there’s already a whole movement devoted to shrink plastic jewelry on Etsy. [insert embarrassed emoji here] Still, I ordered a pack of Shrinky Dinks sheets from Amazon. That would take at least a week to arrive and I couldn’t wait anymore so when I learned that I can also shrink #6 plastic (essentially, plastic used for take-out containers) and yay, we had one on hand2, I did this experiment, again documented on Instagram.

My shrinky dink-brand sheets (as well as a few unbranded ones) arrived in late December but I couldn’t play with them until this week. I got several types — white, clear, rough and ready – so I tried different combinations. Frosted sheets with colored pencils, white with sharpies. Here’s what came out of that experiment.

In the photo below you can see how big the original artwork is compared to the miniature version. You’ll notice that this time I printed my vector illustrations directly on the plastic sheet.

shrinkydinks jewelry

Some pieces already look good but I have yet to perfect shrinking the plastic without forming dents in the miniatures. This is all still a work in progress and I will update you once I come up with designs that I am completely happy with.

UPDATE: I made a YouTube video of how I make my shrink art pins!

  1. Not sure if art schools here are using it now but I’ve never encountered the stuff.[ back]
  2. it had cake on it which I quickly, um, got rid off [ back]
Share
Read More

I'm Cynthia Bauzon-Arre, a Filipino watercolor artist & graphic designer. I live in QC with my graphic novelist husband Arnold and our friendly marmalade tabby Abbas. This blog has been chronicling my life, likes, and loves since 2001. [ more ]

view my portfolio

Categories

Archives