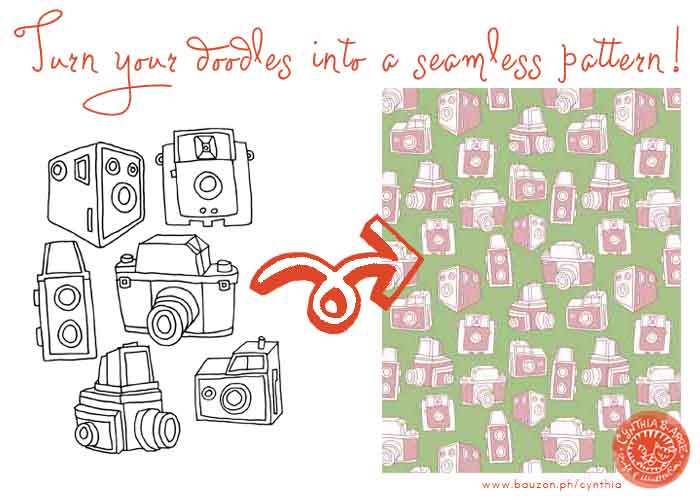
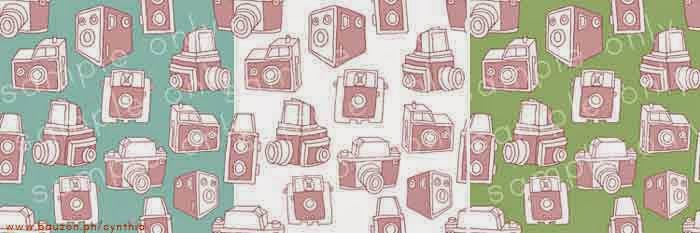
I was in the middle of turning those vintage camera doodles on the left into a seamless digital pattern for my online stores when I thought, hey this is a good time to make another tutorial. I do know how much you (yup, all 3 of you) like reading about my design process. 😉
Step 1: Doodle, scan, clean up in Photoshop (I’m still using a Jurassic CS3 so if you’re using a newer version, you can disregard this entire blog post huhuhu). Some points to remember:
- save your doodles in grayscale, TIFF format
- clean it up, erase all pencil marks, close all broken lines
- once clean, make another layer for your doodles and change the mode from grayscale to bitmap then change it back to grayscale (this will allow you to easily select and remove the white background)
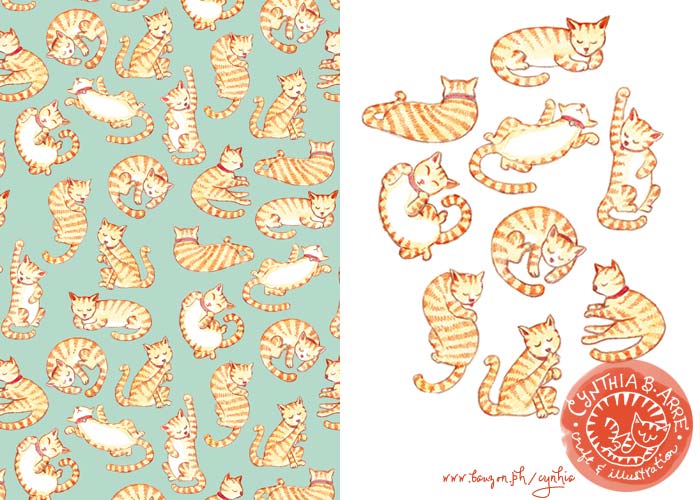
Step 2: Create a new file for your pattern. I usually start with a 1500px x 1500px file. Paste your cleaned-up doodles into that file and arrange them however you like on the page.
Step 3: Add color to your drawings.
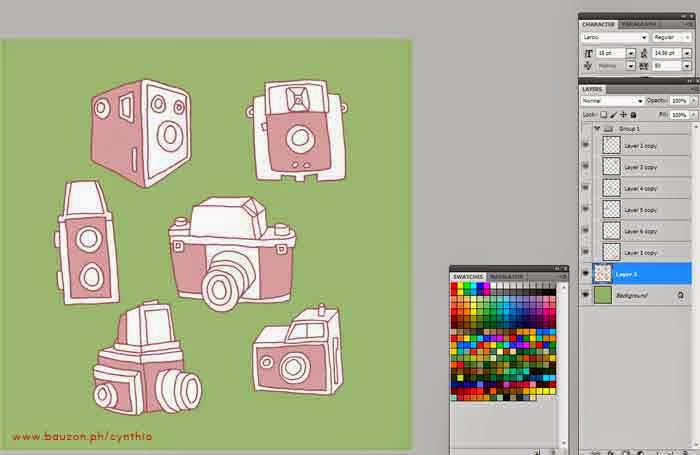
- make separate layers for the background, outline, and fill color(s) so you can easily make variant colorways in the future
- once you’re happy with the colors, duplicate all the layers and place one “untouched” set in a folder and turn off the “eye” symbol to make it invisible for now
- important: leave the background as a separate layer
Step 4: Merge the outline and fill layers of your drawing.
- an additional precautionary step I take is to select the entire file and then go to Image > Crop in the dropdown. This way, tiny pixels that could mess up the next step will be eliminated.
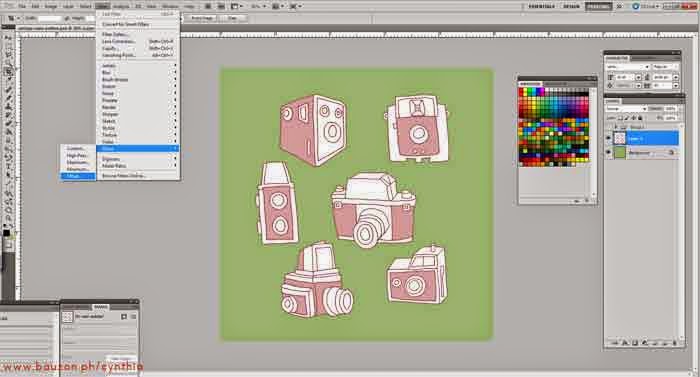
Step 5: Select the merged layer and choose Filter > Other > Offset1. Type in a number that’s half of your document size in the pop-up. Since my file is 1500px x 1500px, I typed in 750 for both horizontal and vertical instances. Your drawings will scatter to the edges.
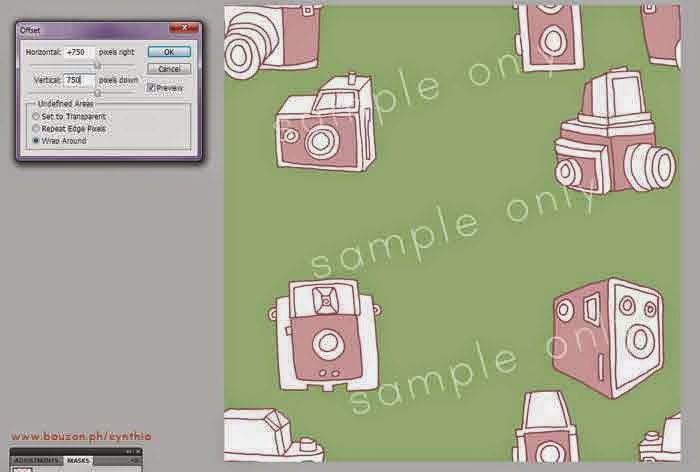
- remember to tick “wraparound” in the popup box
- check to see if the images in the corners will connect with one another without gaps. This is why the “Crop” command I added in Step 4 is important. Sometimes tiny, hardly visible pixels will throw the alignment off.
Step 6: Remember I told you to make a duplicate layer for the drawings? Turn on the “eye” symbol and make it visible. Take the duplicate versions of the drawings and arrange them randomly to fill up the blank spaces. This is now your “Master” file. Save it as a .PSD so you can do edits later.
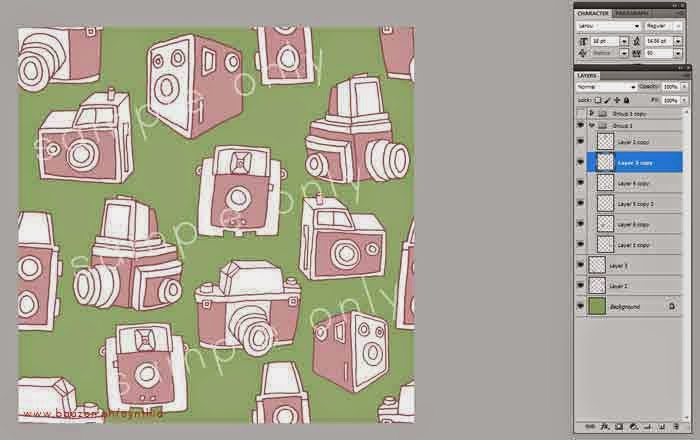
- I like to flip and scale the duplicate drawings to give the pattern a (in breathy voice) casually-thrown-together look. 😉
- see how I’ve left the background color as a separate layer? This way I can easily change it to make a variant of the pattern.
Step 7: Time to test your pattern. Select the entire page and go to Edit > Define Pattern. Type a name for your pattern in the pop-up.
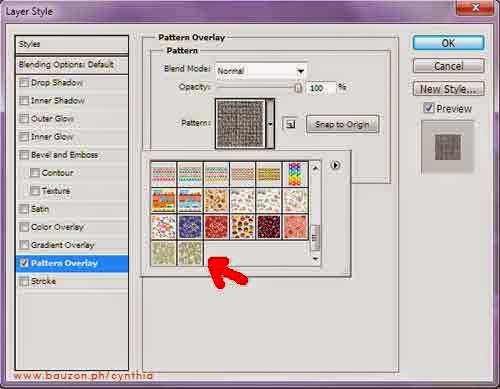
Step 8: Make a new document in US Letter or A4 size (it really doesn’t matter). Create a layer, select it and go to Layer > Layer Style > Pattern Overlay. Select the pattern you just made in the Pattern palette that pops up.
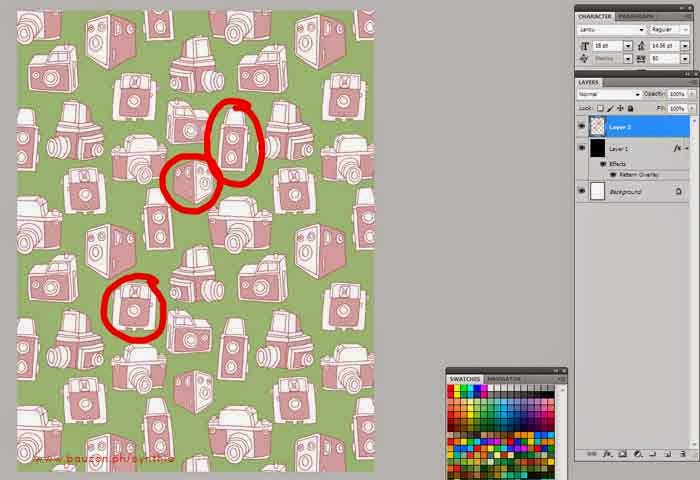
Step 9: Inspect your pattern and watch out for elements that don’t align or are too close to one another. Edit your master file accordingly and repeat steps 6-8.
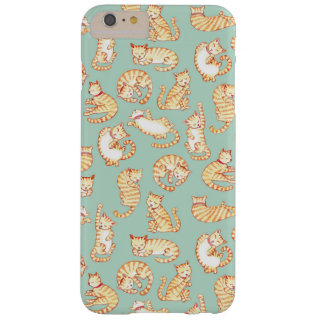
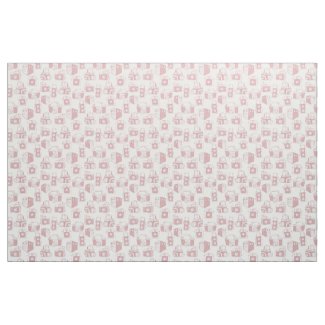
Step 10: Once you’re happy with the pattern, save your square master file as a JPEG. You can now use that to make fabric patterns in Spoonflower or Zazzle and make some extra pocket money.
I’ve yet to upload it to my stores (since I was *ahem* busy making this tutorial) but I do hope you’ll find this post useful. 🙂
UPDATE: Now available on fabric, wrapping paper, ribbons, and other fun items on Zazzle.
- if you’re using a different version of Photoshop, it might be located under a different dropdown[ back]