Posts Tagged "handmade"

Keeping Busy + Adventures in Shrinking Plastic

What I’ve been working on:

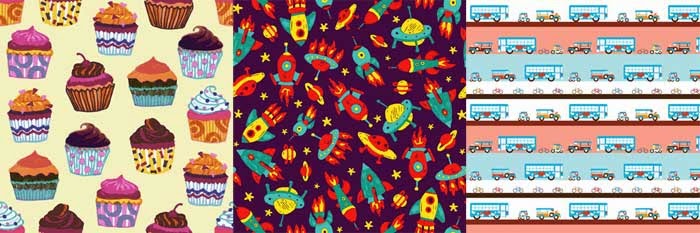
1. New patterns for my Spoonflower store (these are still being proofed so this is a sneaky peek) —

surface pattern design by cynthia bauzon arre

2. A new wedding invitation set featuring stylish animals —

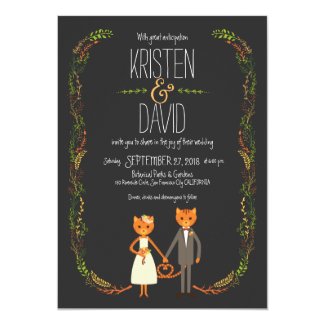
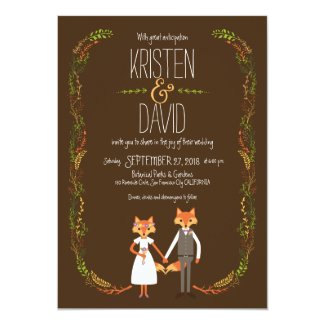
(You can see all the elements of the entire collection here)

3. More custom couple cartoons. (Nothing to show here yet as they’re still in the drafts stage but I’ll update the other blog once the drawings have been finalized.)

And as you may have seen on my Instagram feed,

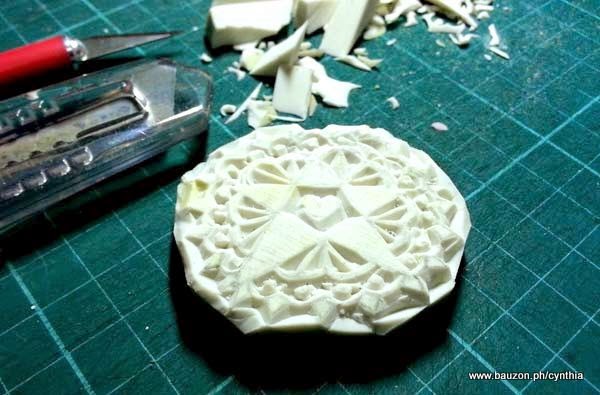
4. Shrink plastic jewelry

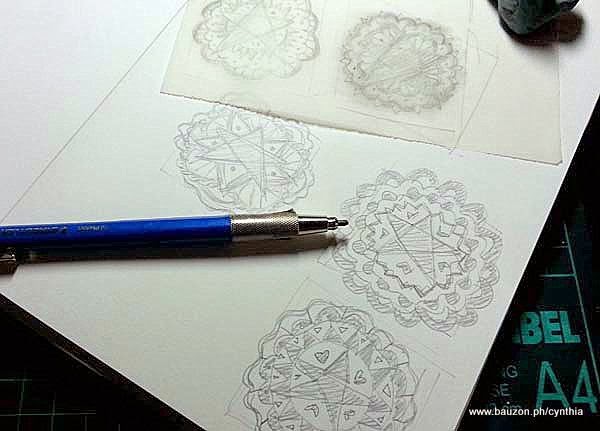
I’ve been wanting to make accessories for the longest time. In fact I have an unused box full of jewelry findings hoarded from the Kamuning Market when we were planning our wedding… yes, it’s been that long! However, there’s so much competition and I didn’t know what I could do that would showcase what I can do best so i focused on other things. Until I discovered shrinky dinks — thanks to wedding blogging actually. Some of my brides would talk about shrinky-dinking stuff and I was all like “shrinky-WHAT-ing?”1 After much Googling and Youtube-ing I learned that specially made plastic can shrink into a harder & thicker version of itself if you stick it in a regular toaster oven. A little light bulb lit up in my head — what if I shrink my illustrations and make them into few-of-a-kind jewelry charms? Of course I still had no idea then that I was already late to the game and that there’s already a whole movement devoted to shrink plastic jewelry on Etsy. [insert embarrassed emoji here] Still, I ordered a pack of Shrinky Dinks sheets from Amazon. That would take at least a week to arrive and I couldn’t wait anymore so when I learned that I can also shrink #6 plastic (essentially, plastic used for take-out containers) and yay, we had one on hand2, I did this experiment, again documented on Instagram.

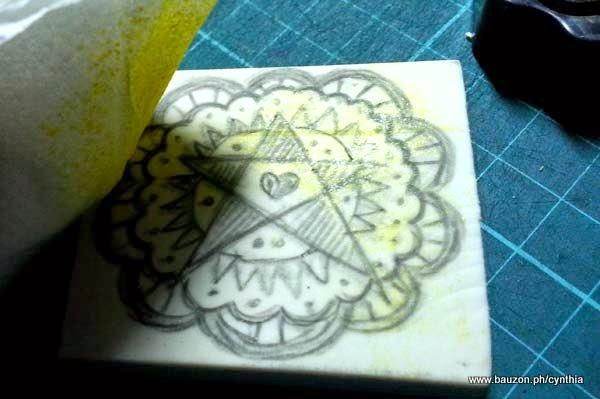
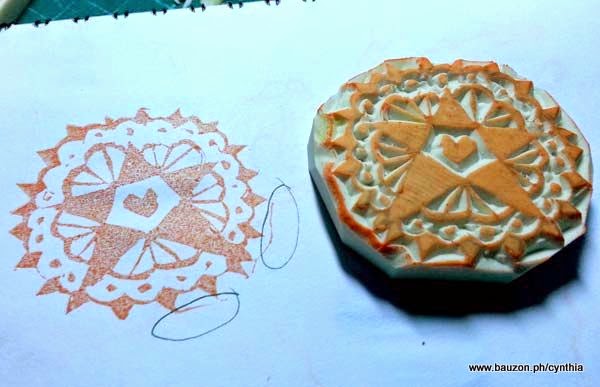
My shrinky dink-brand sheets (as well as a few unbranded ones) arrived in late December but I couldn’t play with them until this week. I got several types — white, clear, rough and ready – so I tried different combinations. Frosted sheets with colored pencils, white with sharpies. Here’s what came out of that experiment.

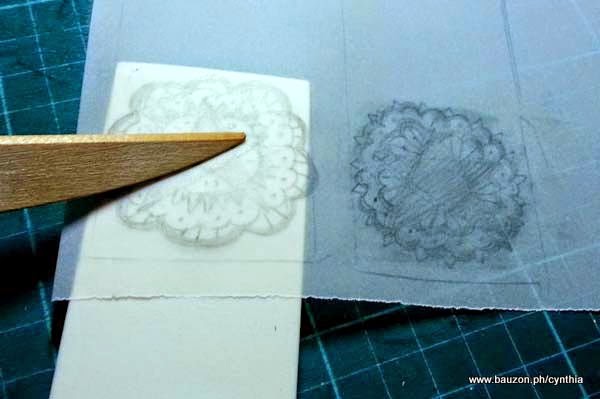
In the photo below you can see how big the original artwork is compared to the miniature version. You’ll notice that this time I printed my vector illustrations directly on the plastic sheet.

shrinkydinks jewelry

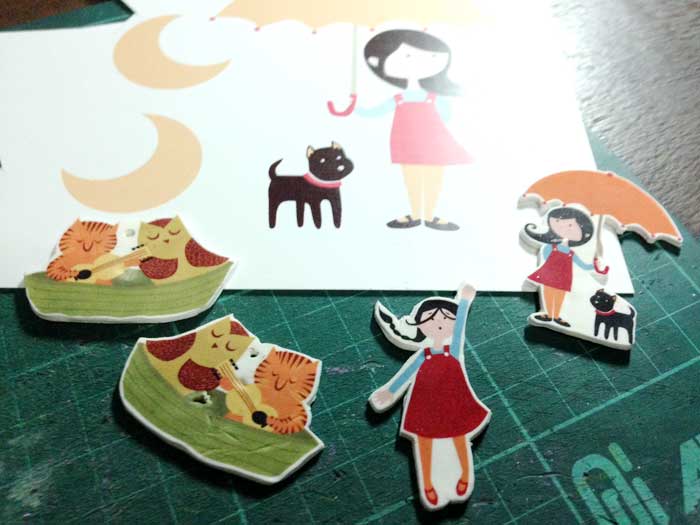
Some pieces already look good but I have yet to perfect shrinking the plastic without forming dents in the miniatures. This is all still a work in progress and I will update you once I come up with designs that I am completely happy with.

UPDATE: I made a YouTube video of how I make my shrink art pins!

  1. Not sure if art schools here are using it now but I’ve never encountered the stuff.[ back]
  2. it had cake on it which I quickly, um, got rid off [ back]
Share
Read More

How to Carve Rubber Stamps With Just an X-Acto Knife (A Tutorial)

When I posted some of my eraser stamps on Instagram, some crafty friends were surprised to learn that the X-Acto Knife is all I’ve been using for carving1. It seems that most rubber stamp crafters — and I’ve noticed this on a lot of web tutorials I’ve read and watched  — prefer to use lino cutters, more specifically, the Speedball Linoleum Cutter set which I want myself. That set contains a thin, V-shaped blade that looks especially useful for gouging out narrow “canals” between outlines — a pain to attempt with the straight-edged X-acto blade.

X-Acto Knife vs. a V-Gouge

See what I mean? (via Lime Green News)

As mentioned previously, I’ve already ordered the set but while waiting I had to train myself to carve using the humble, easily available, and familiar2 pointy blade. Drama aside, if you want to start carving and like me, a craft knife is all you have, I will now share the process with you. I’ll even start from the very beginning — a very good place to start. *cue Julie Andrews*

** I’m by no means an expert at this. I just want to share what works for me so far. 🙂

Materials:
– a 2B lead pencil
– tracing paper
– a rubber eraser
– an X-Acto knife
– an ink pad
– blu tack (optional)

rubber stamp carving tutorial

1. Plan out the image you want to carve. Shade-in the areas to keep solid to guide you when you carve later. These doodles are “parols” or Filipino Christmas lanterns and I plan to use these on homemade gift tags.
2. Trace your “master” illustration onto tracing paper with a 2B lead pencil.

how to carve eraser stamps with an x-acto knife

3. Place the tracing paper on top of your eraser or carving block, penciled side down. Rub on it with something firm like a pen’s bottom or a bone folder to transfer a mirror image of your sketch.

how to carve a rubber eraser stamp

4. Totally optional but if I’m not using a two-tone carving block, I like tinting my surface lightly with some color. This is so I can easily see which areas have already been carved. Just dab a piece of tissue paper into your ink pad then pat it onto your eraser / carving block, just gently enough to tint it with color.

carve a rubber stamp with a craft knife

5. Start outlining your image with the X-Acto blade at a 30-45 degree angle << — very important. Remember to slice lightly because if you insert the knife too deep, it will be difficult to maneuver the blade which will result in tugging and therefore risking (a) ruining your stamp, and (b) piercing the finger you’re holding the stamp with. (Unfortunately for me I encountered all of the above on a couple of my initial carving attempts).

how to carve a rubber stamp with an X-acto knife

6. After you’ve outlined an area, lift the blade and turn the eraser around. Again with the blade inserted on a 30-45 degree angle, carve a curved line a short distance away from the outline you made towards the opposite direction from where you made the cut earlier. Try to “meet” the already-sliced areas with your blade’s tip, you’ll see that areas will begin peeling off. This is my favorite part. 🙂 (Gosh I hope that made sense. Please see photo above for reference.)

how to carve an eraser stamp tutorial

7. Soon your stamp will look like this. See how all my cuts are angled?

how to carve an eraser with an x-acto knife

8. Completely optional again but if you have some Blu Tack (mine’s about 15-years old and it still works and lol it’s not blue) lying around, you can use that to remove pencil marks as well as stubborn little bits of eraser stuck inside crevices.

how to carve a rubber stamp x-acto knife

9. Trim your stamp using a box cutter. Trimming it to size will help in stamp positioning later on.

rubber stamp carving x-acto knife

10. Make a test print. This will allow you to see which areas still need fixing. It doesn’t really need to be perfect though — part of a rubber stamp’s charm is its rough handmade quality. (Such a good excuse, ‘no? 🙂 )

A photo posted by Cynthia Bauzon-Arre (@arncyn) on

11. And here are the finished stamps. 🙂

If my instructions — especially in #6 — weren’t clear to you, watch this demo by the amazing Tsukui Tomoko. She uses both a box cutter (!) and a V-gouge in the video but the box cutter method at the beginning of the video is what I’ve been doing with the X-Acto knife.

Did this help you somehow? If you have other carving tips or techniques, I’d love to hear all about them!

  1. Our discussiions are here and here [ back]
  2. oh X-Acto, how many frisket films did I cut with you back in college? [ back]
Share
Read More

I'm Cynthia Bauzon-Arre, a Filipino watercolor artist & graphic designer. I live in QC with my graphic novelist husband Arnold and our friendly marmalade tabby Abbas. This blog has been chronicling my life, likes, and loves since 2001. [ more ]

view my portfolio

Categories

Archives